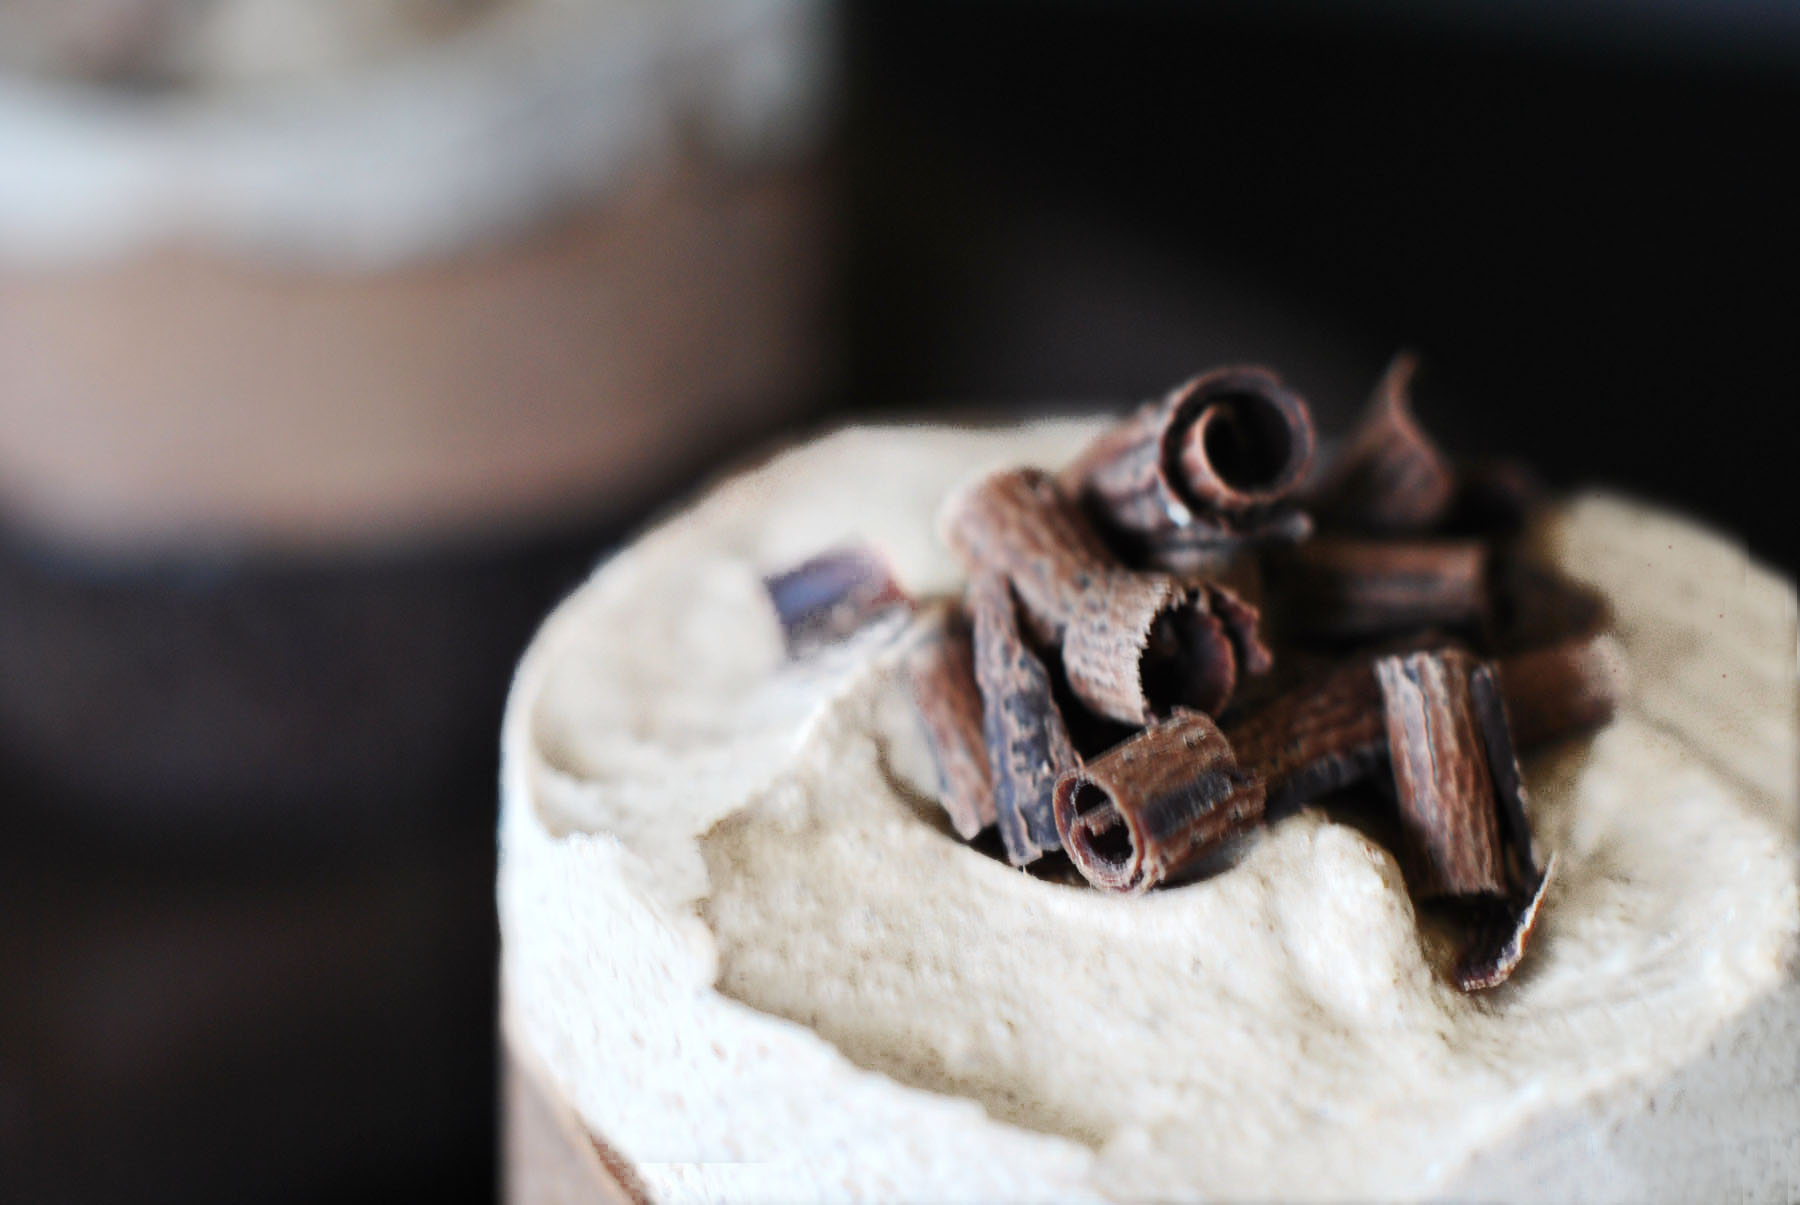
My 8pm sweet tooth kicked in. I opened the freezer. There is a lonely left-over pint of sorbet. Sorbet sounds way too healthy right now. Moist, rich and decadent chocolate – craving is real. So next day, I put my game face on to make some bad ass chocolate dessert. I always get what I want. 😀
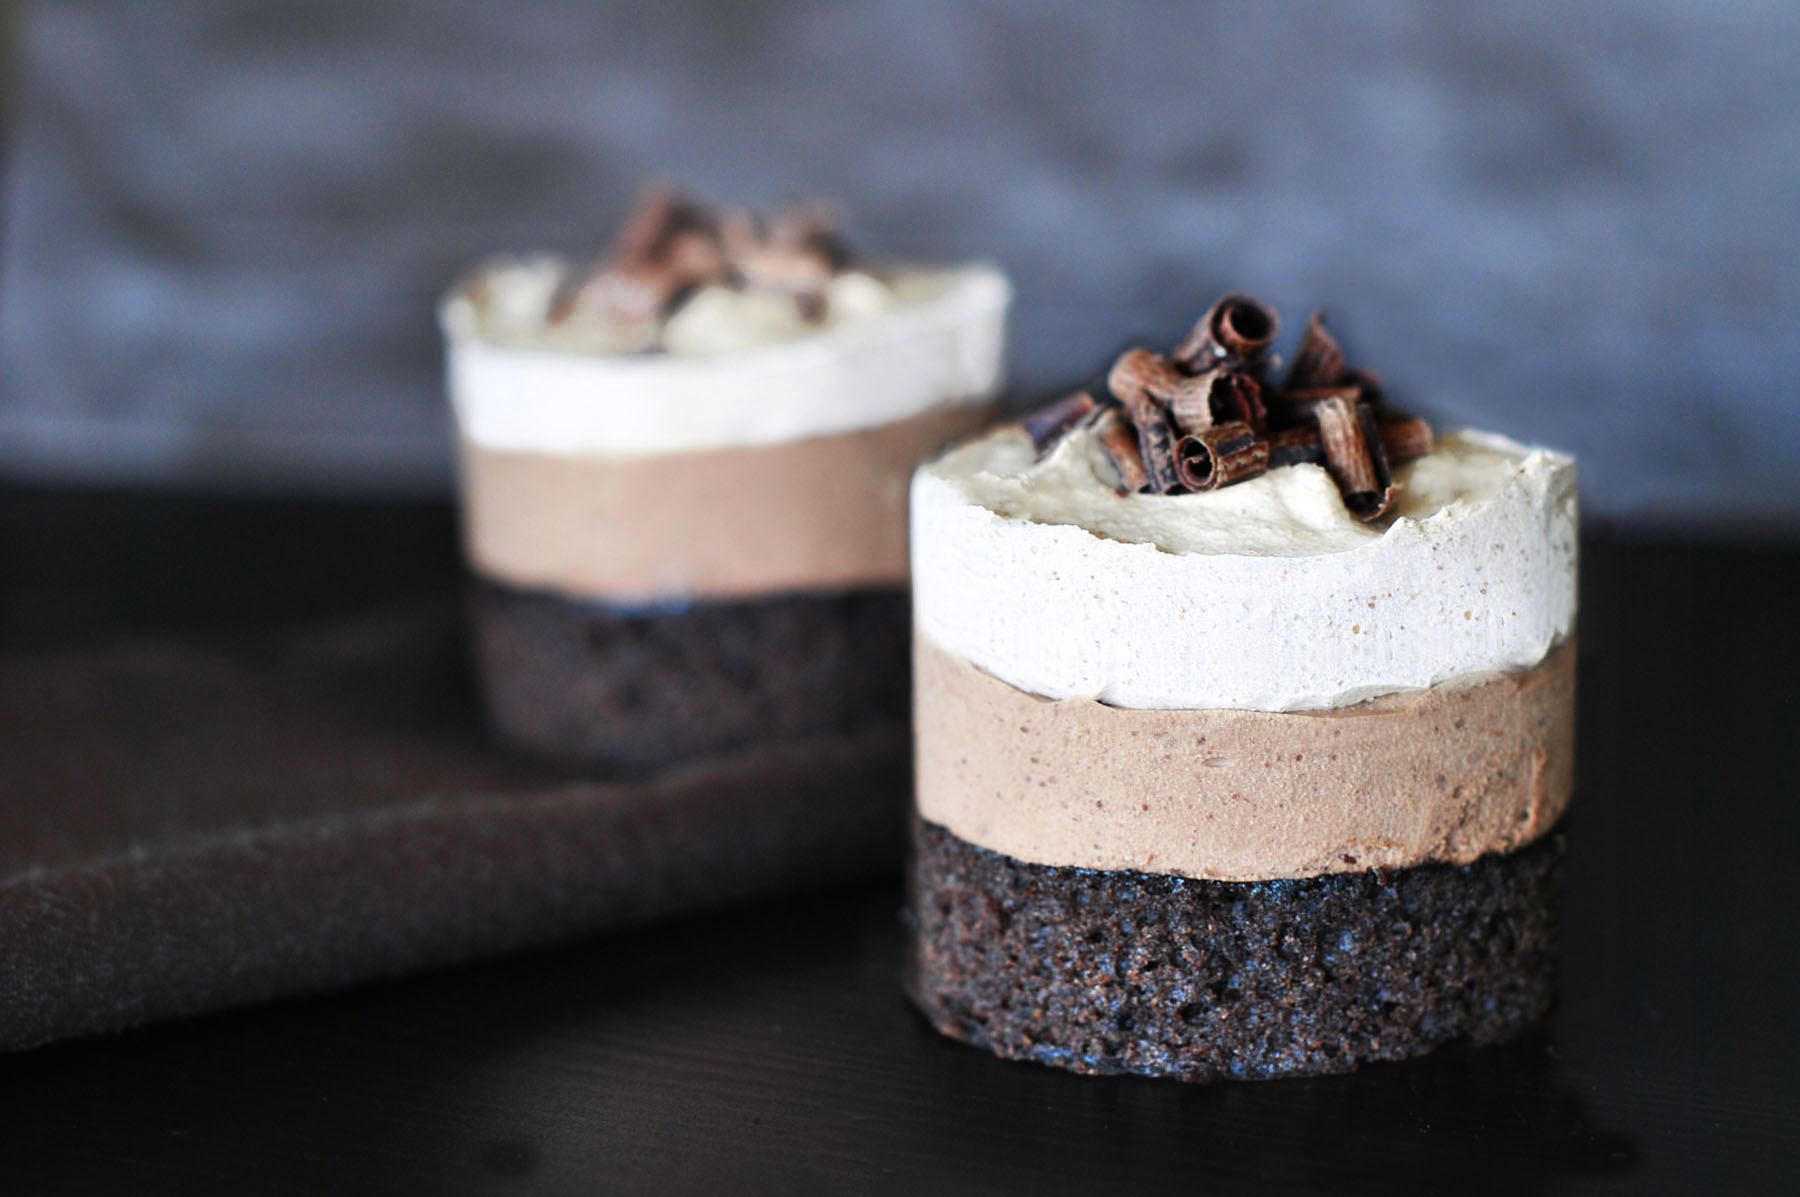
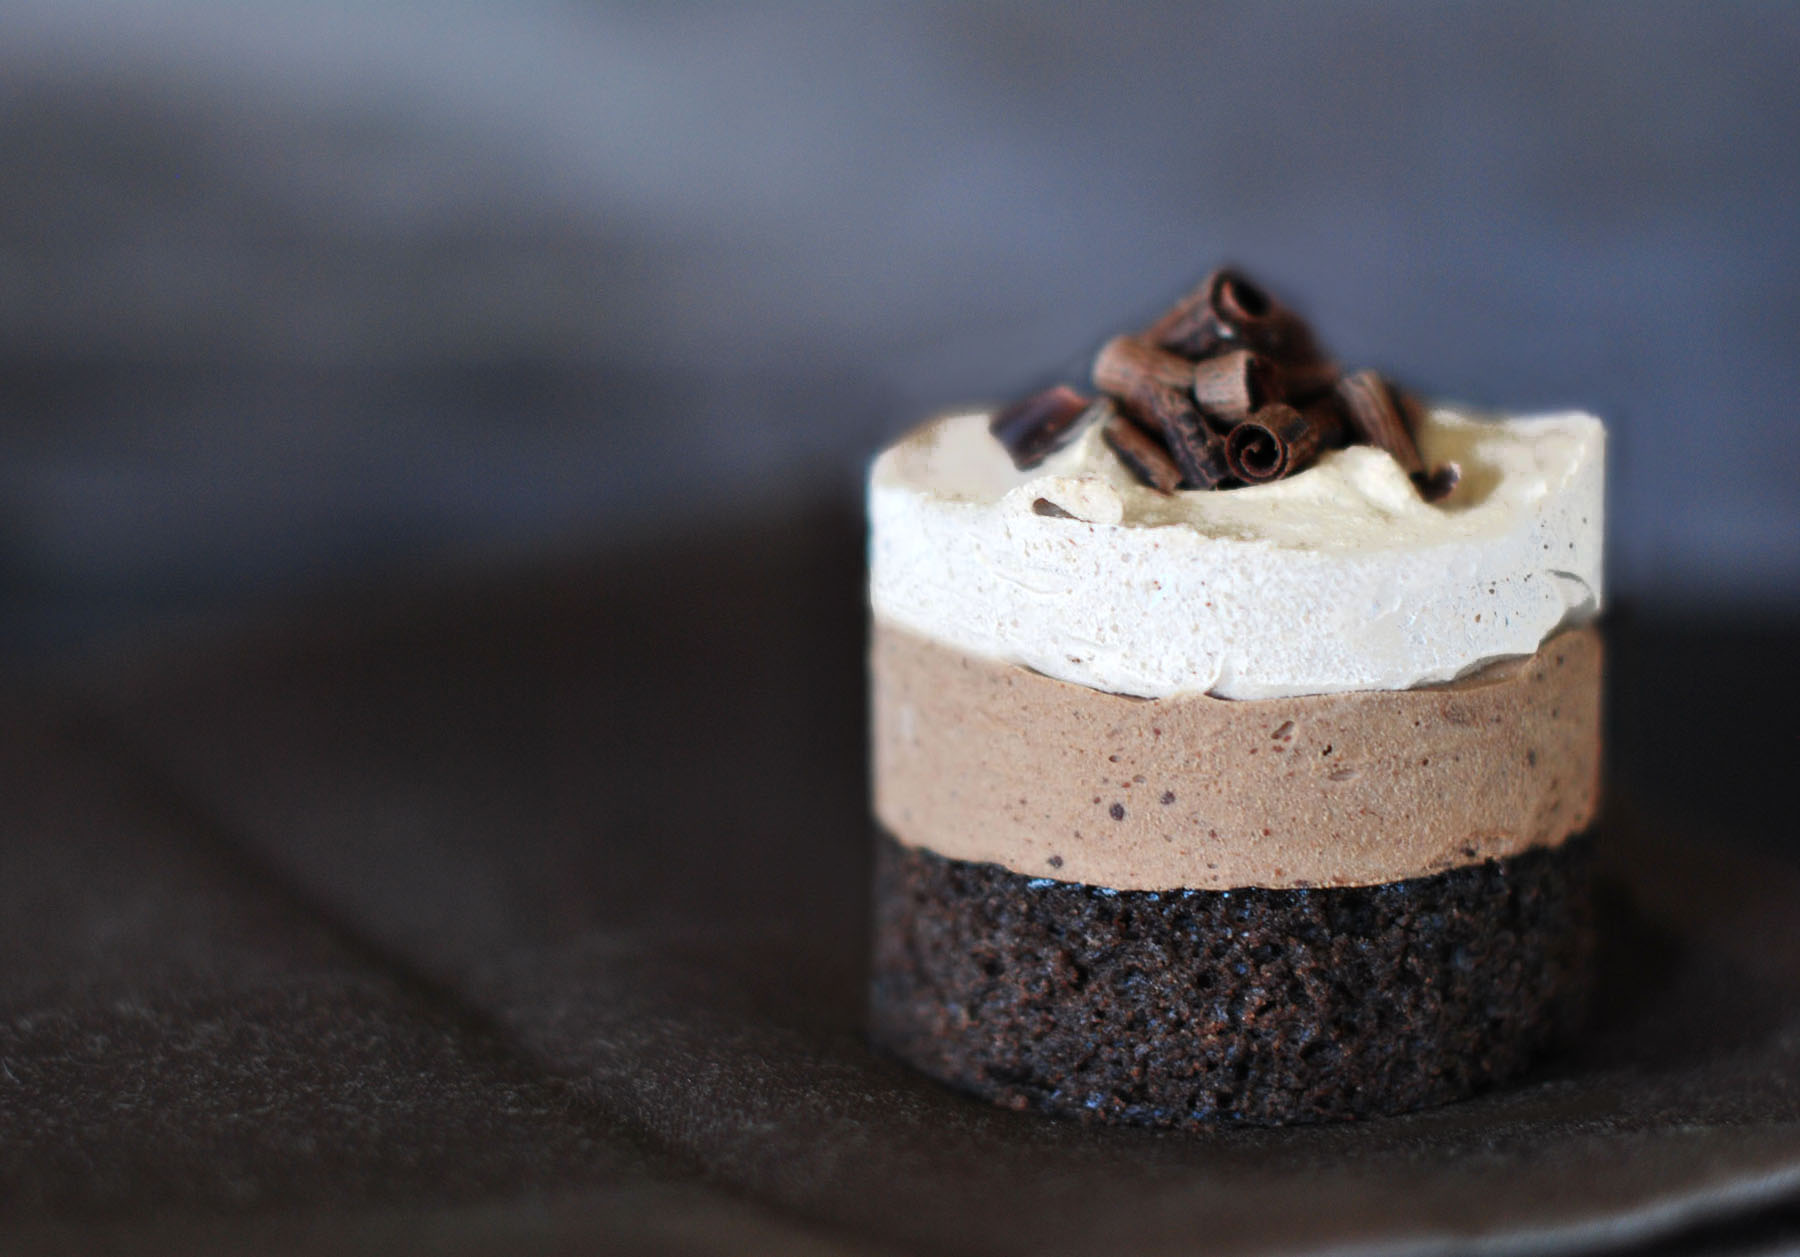
Don’t get intimidated by it’s look. It’s actually pretty easy. But if you don’t feel like making it into a shape like this, don’t bother. Just layered it in a nice dessert cup and it will be as impressive.
Ingredients
:: For the chocolate cake ::
1 stick unsalted butter
1 1/3 cups sugar
1/2 cup cocoa powder
1 teaspoon expresso powder
2 large eggs, room temperature
2 oz dark chocolate, melted
1 3/4 cups all-purpose flour
1 teaspoon baking powder
3/4 teaspoon baking soda
1/4 teaspoon salt
1/2 cup water
1/2 cup milk
:: For the dark chocolate mousse ::
1 teaspoon powdered gelatin
2 tablespoons water
1/2 cup whole milk
6 oz good quality dark chocolate, finely chopped
1 1/4 cup heavy cream
:: For the white chocolate mousse ::
1/2 cup whole milk
6 oz good quality white chocolate
1 teaspoon powdered gelatin
2 tablespoons water
3/4 cup heavy cream
Preparation
2. In a mixer, beat butter, sugar and cocoa powder till smooth and fluffy.
3. Add one egg at a time.
4. Add melted chocolate
5. Mix all the dry ingredients in a bowl
6. Slowly add dry ingredients to the mixer and mix on a low speed.
7. Combine milk and water and microwave it for 45 seconds then slowly add to the mixture.
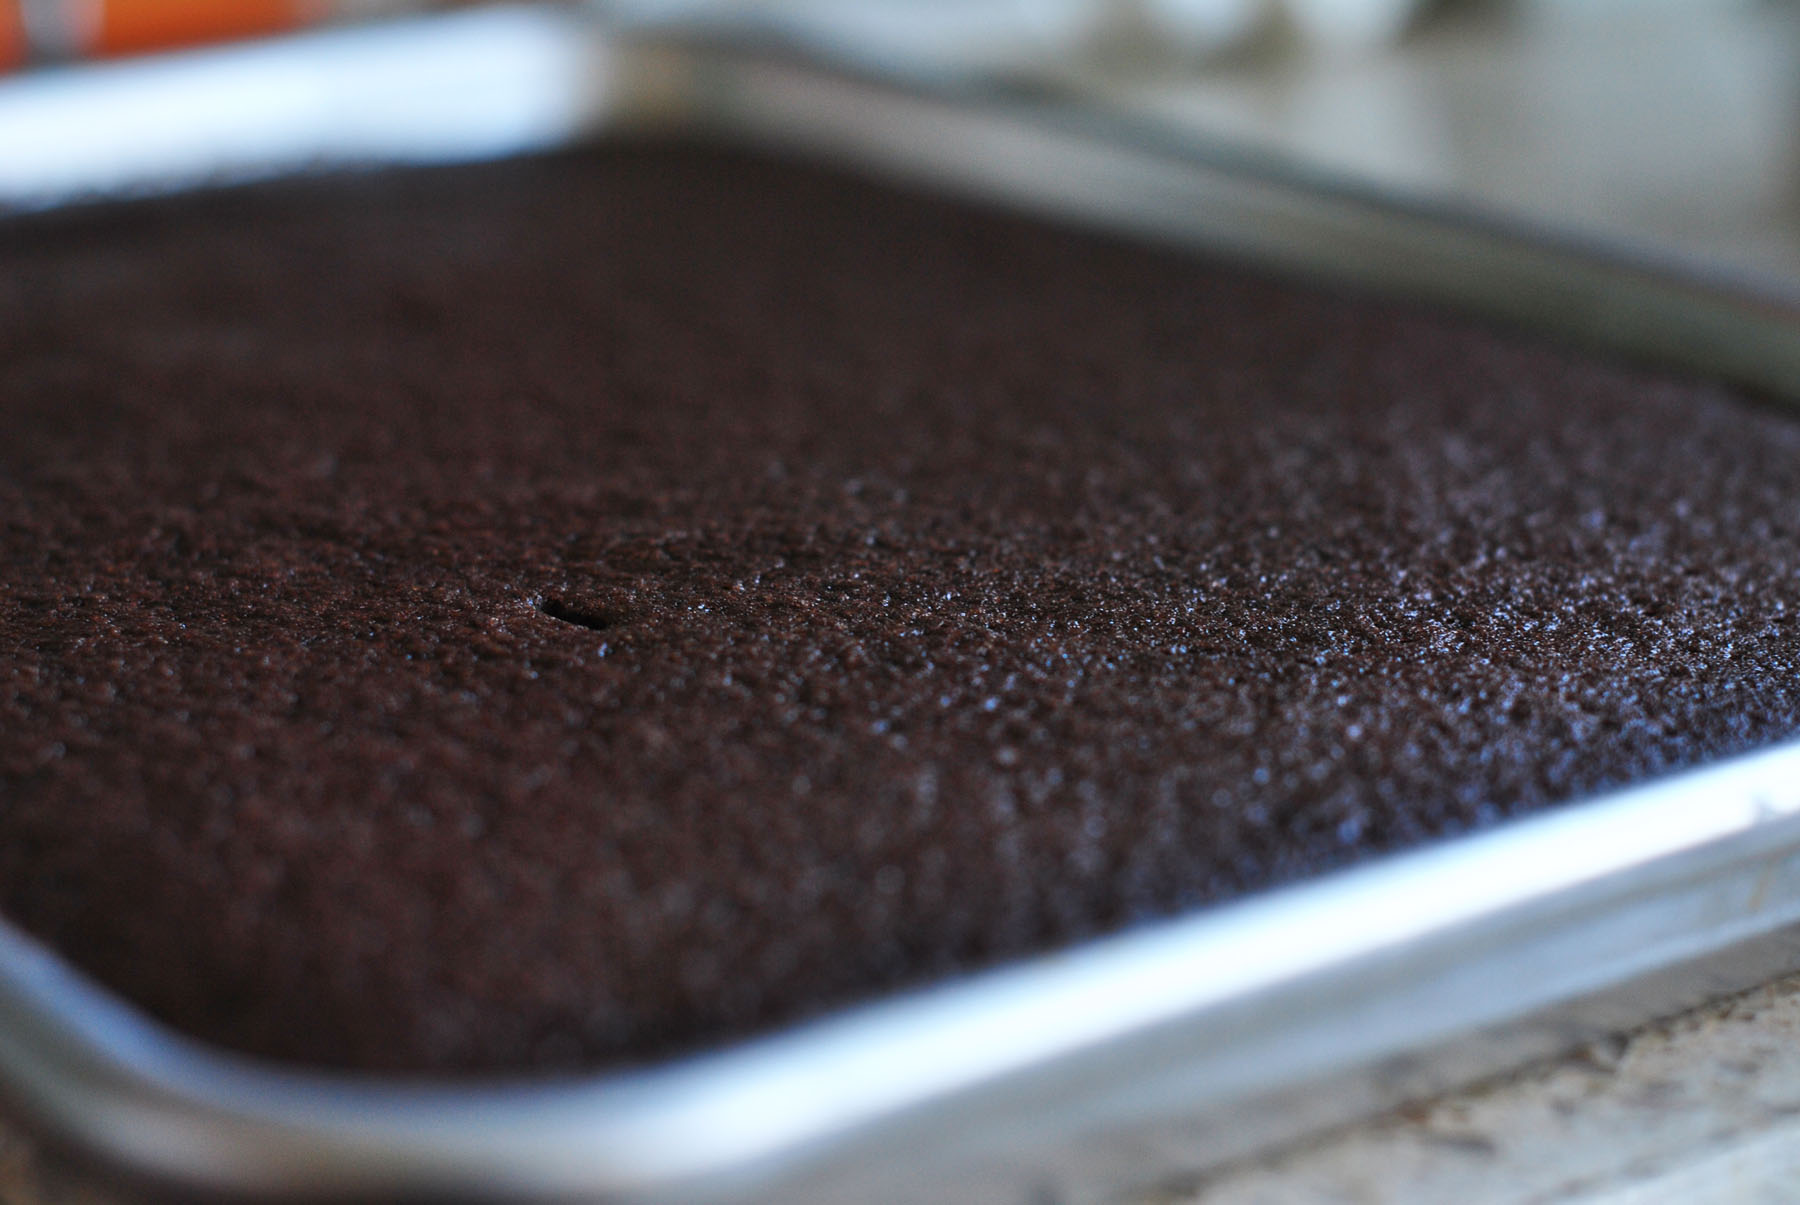
9. Half sheet pan (18×13), first sprayed with nonstick cooking spray and lined with parchment. Pour the batter and bake for about 15 mins at 350’F.
3. Turn OFF the heat (This is important. When subjected to high heat, gelatin deteriorates and turns grainy) and then scrape the gelatin blob into the hot milk. Swirl the pan around until it’s completely dissolved.
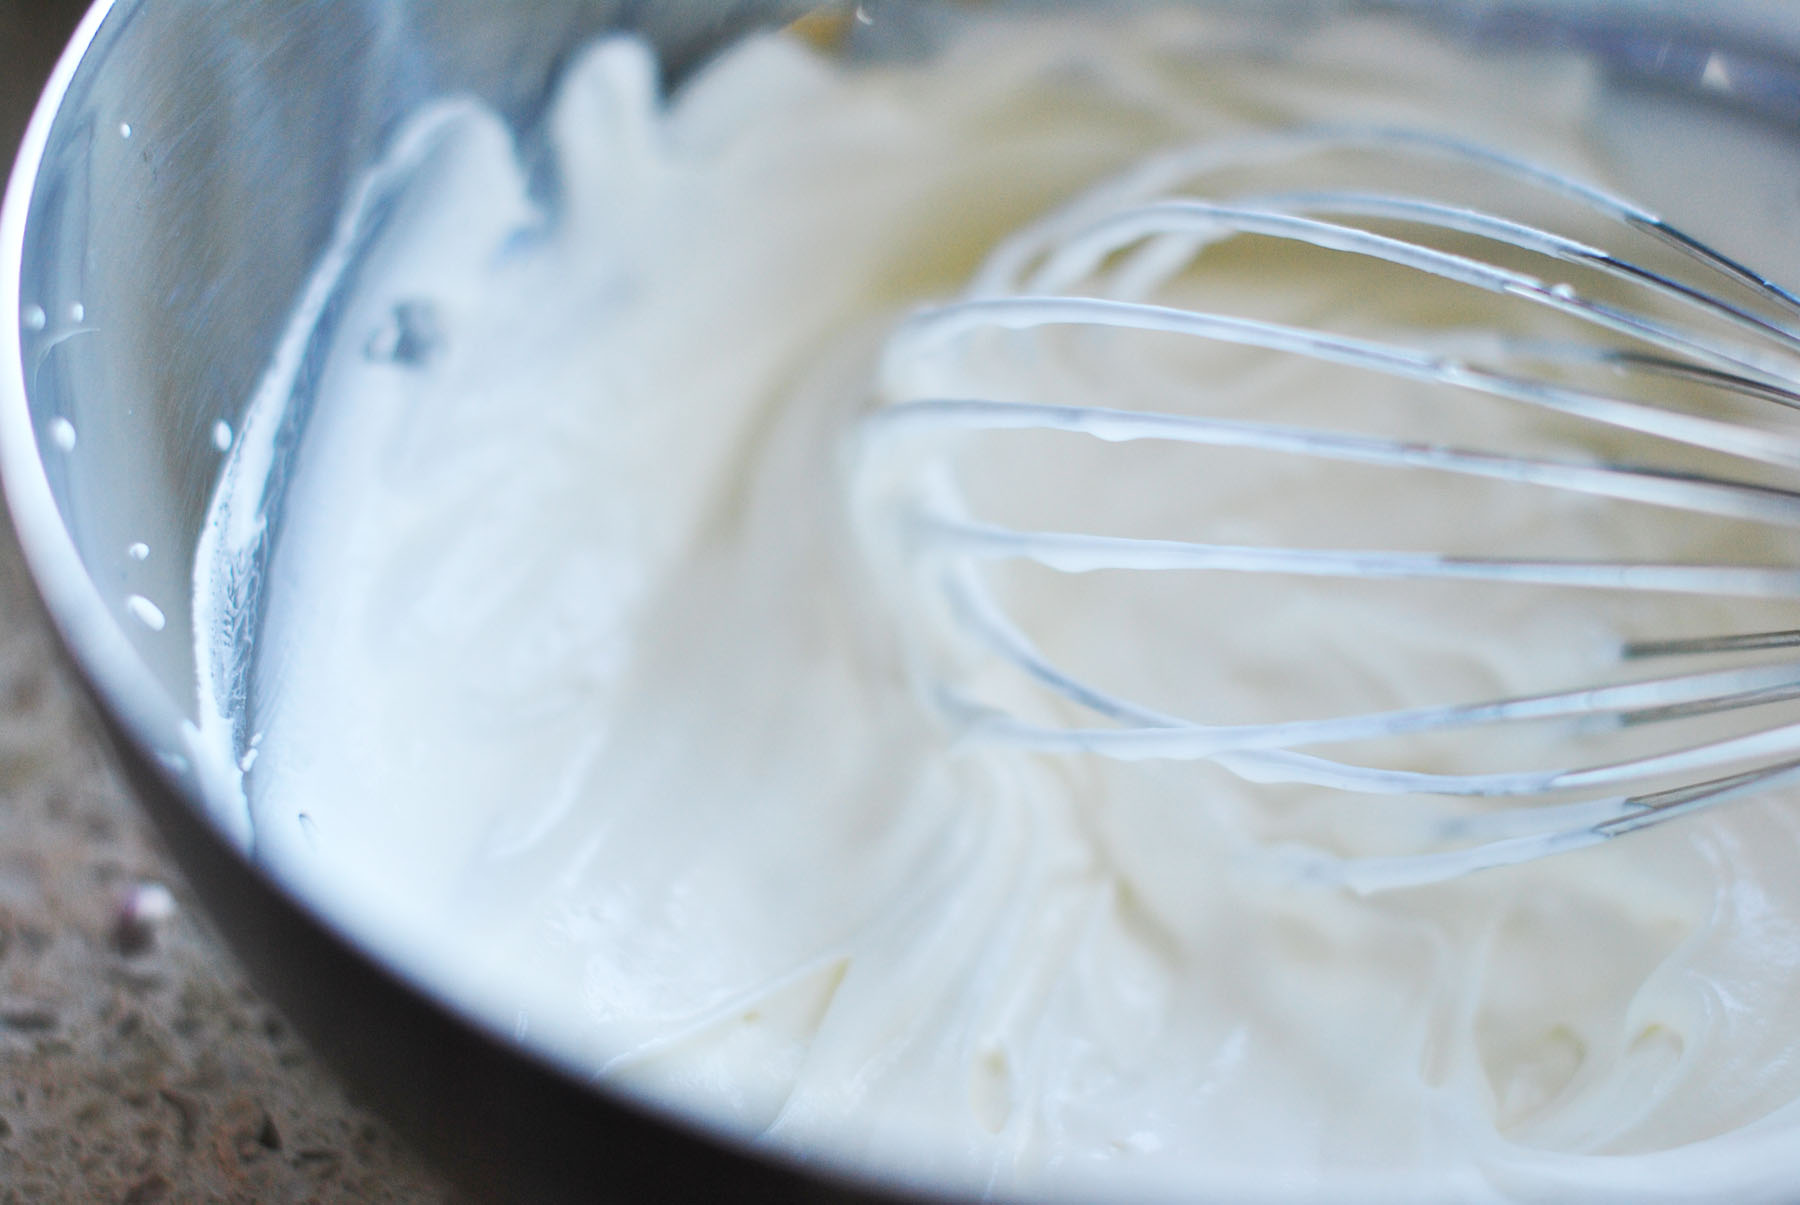
5. Whip the cream to ‘Soft peak’
6. Scoop about a third of the whipped cream into the chocolate. Since the chocolate is kind of dense and heavy, this will help lighten it up. When we fold in the rest of the cream, it won’t deflate as much.
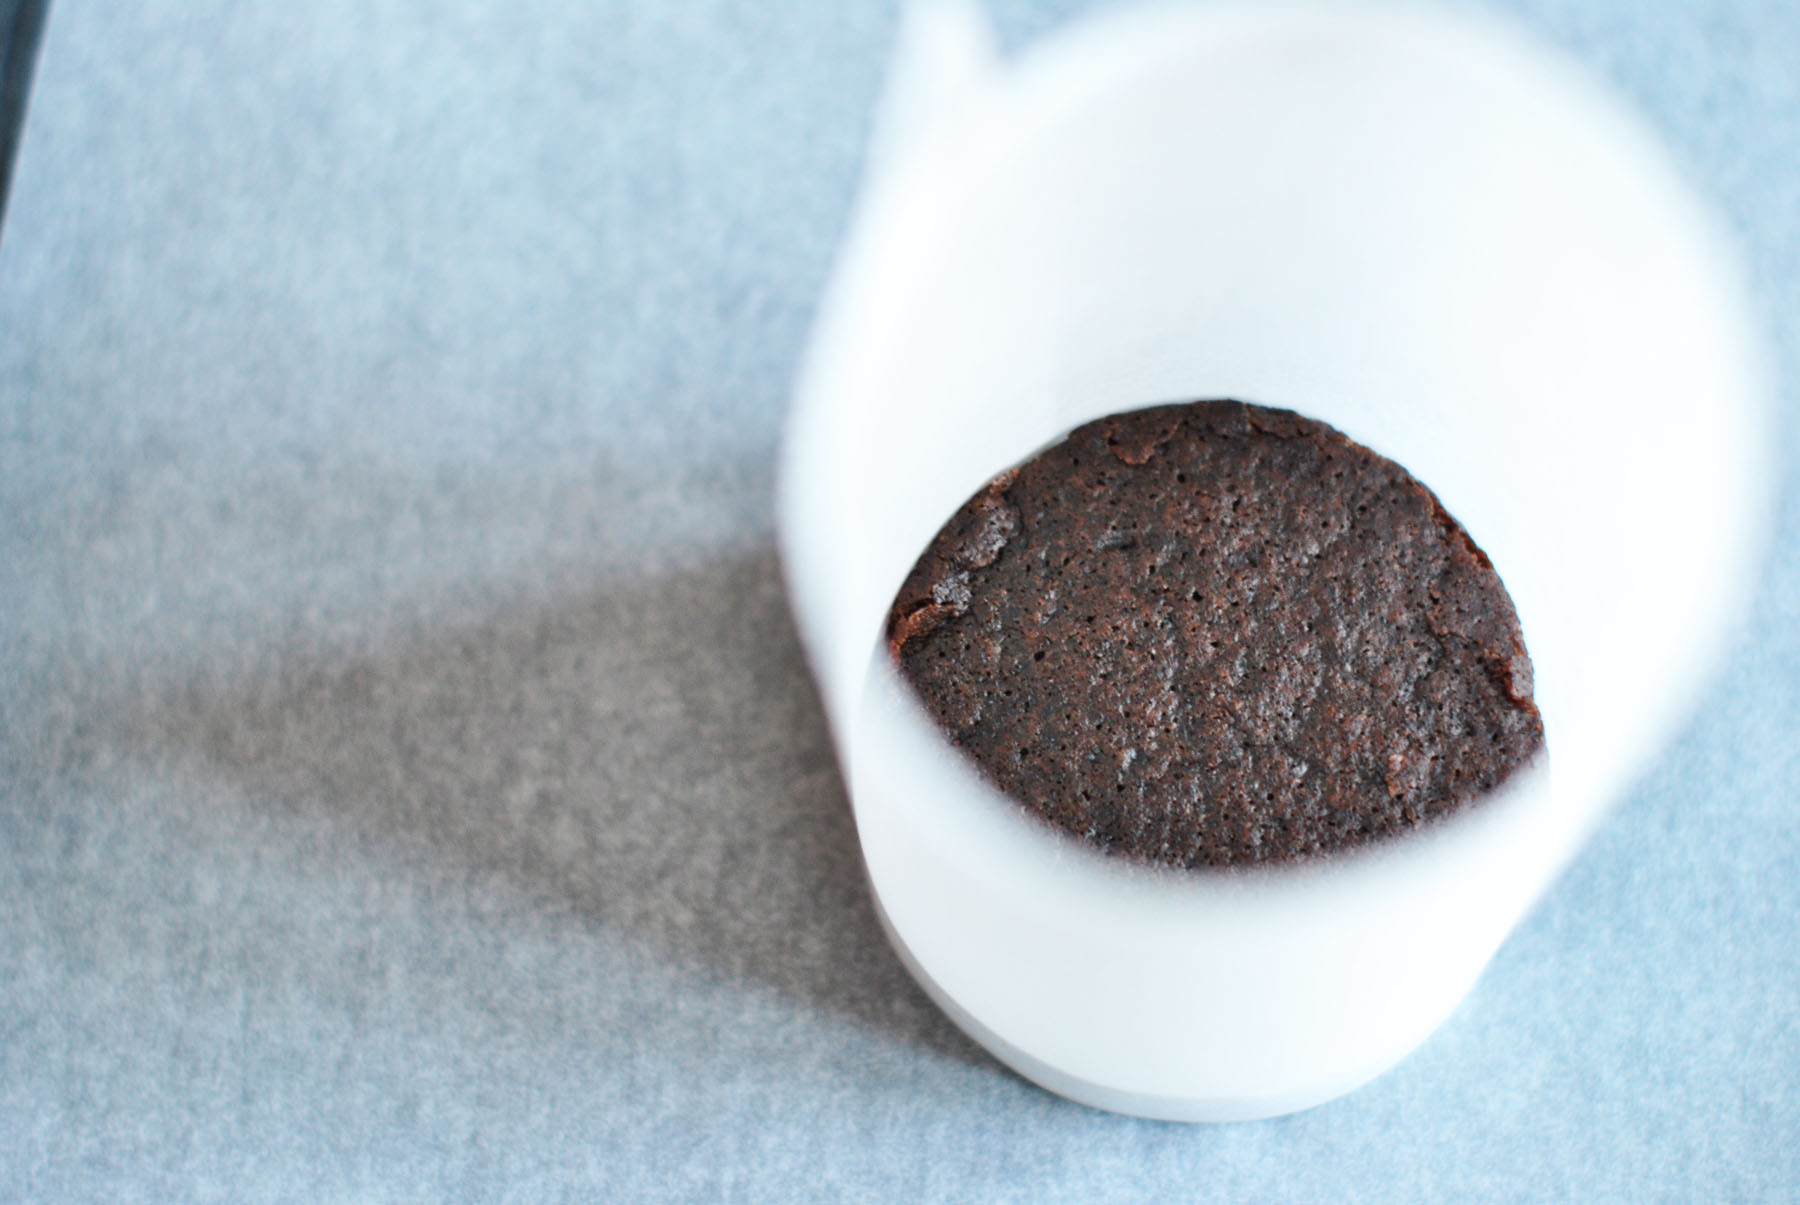
4. Then put it in the freezer for 10 mins till set.
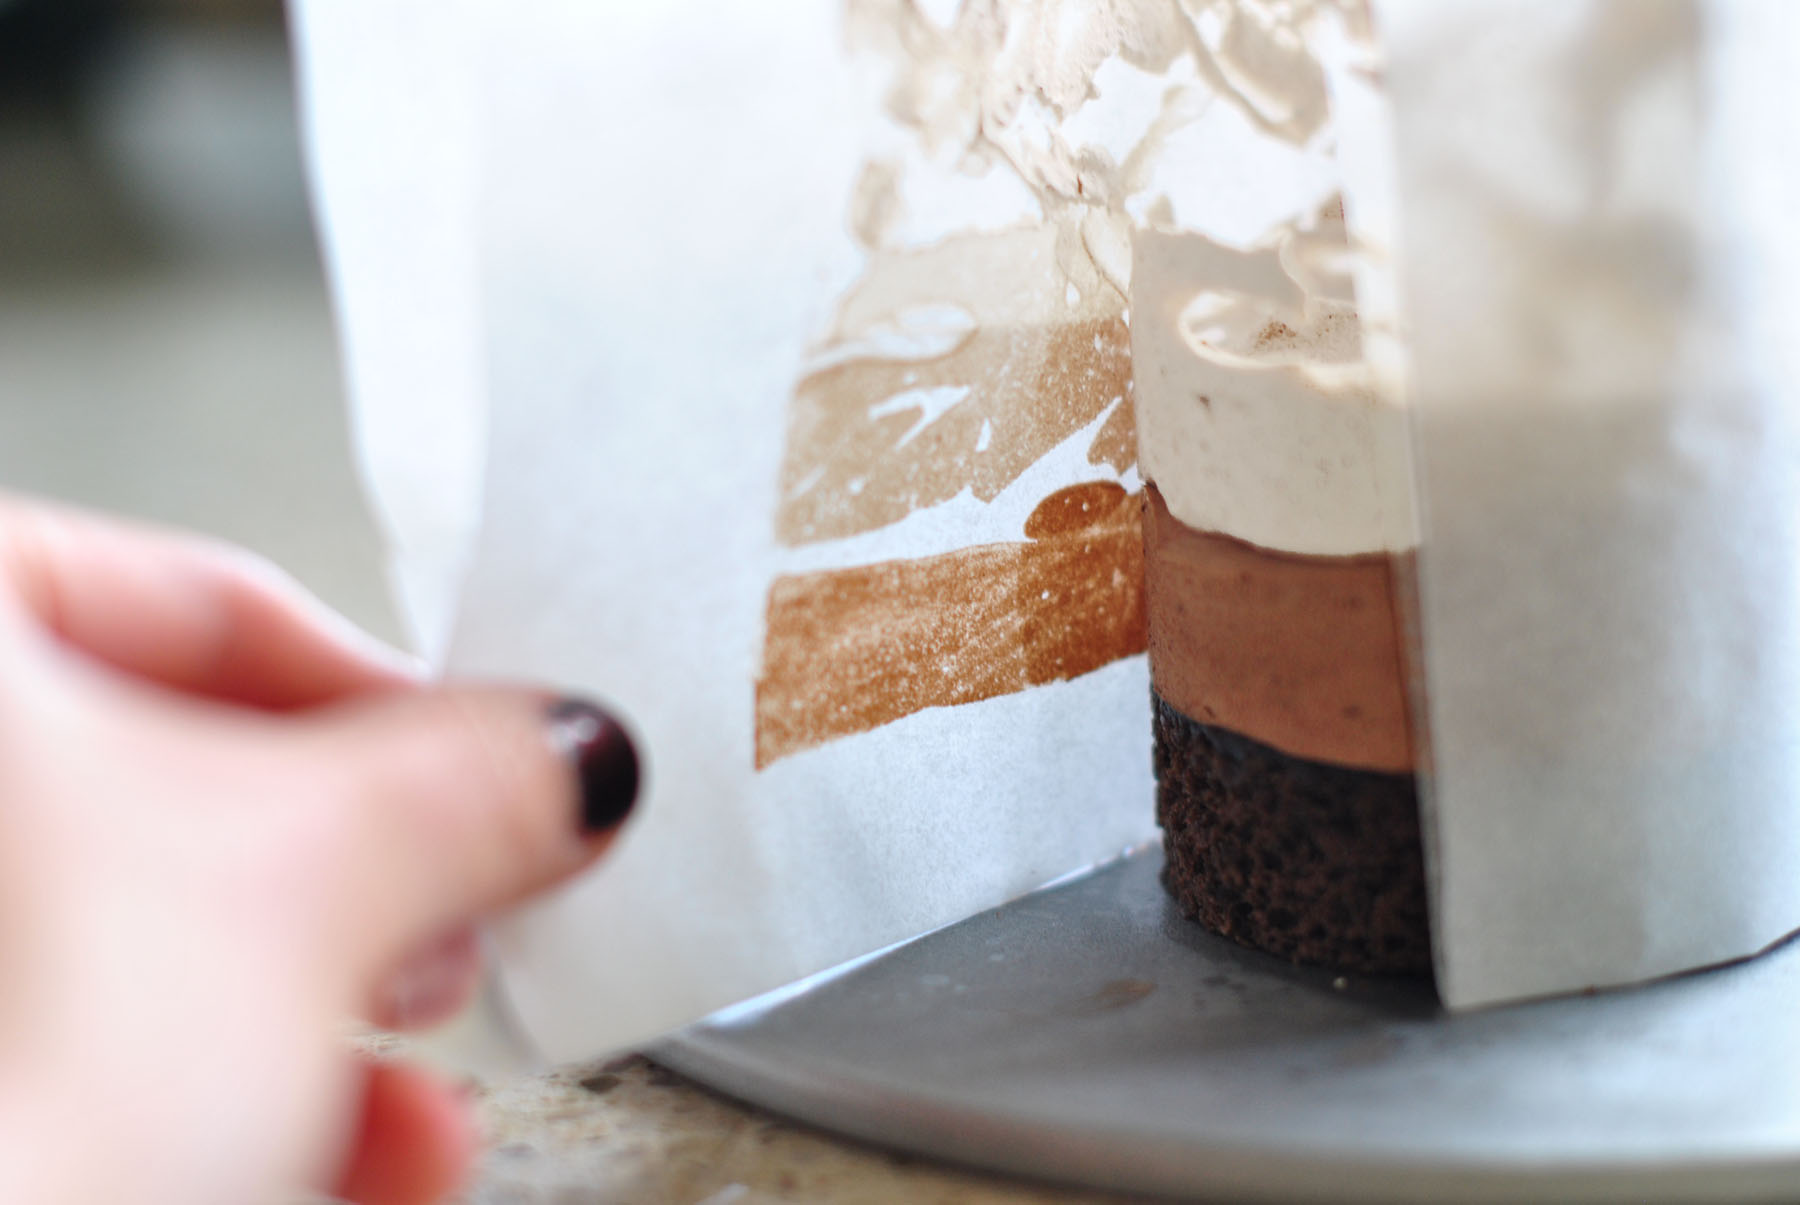
5. Take them out of the freezer, and now pour in white chocolate mousse.
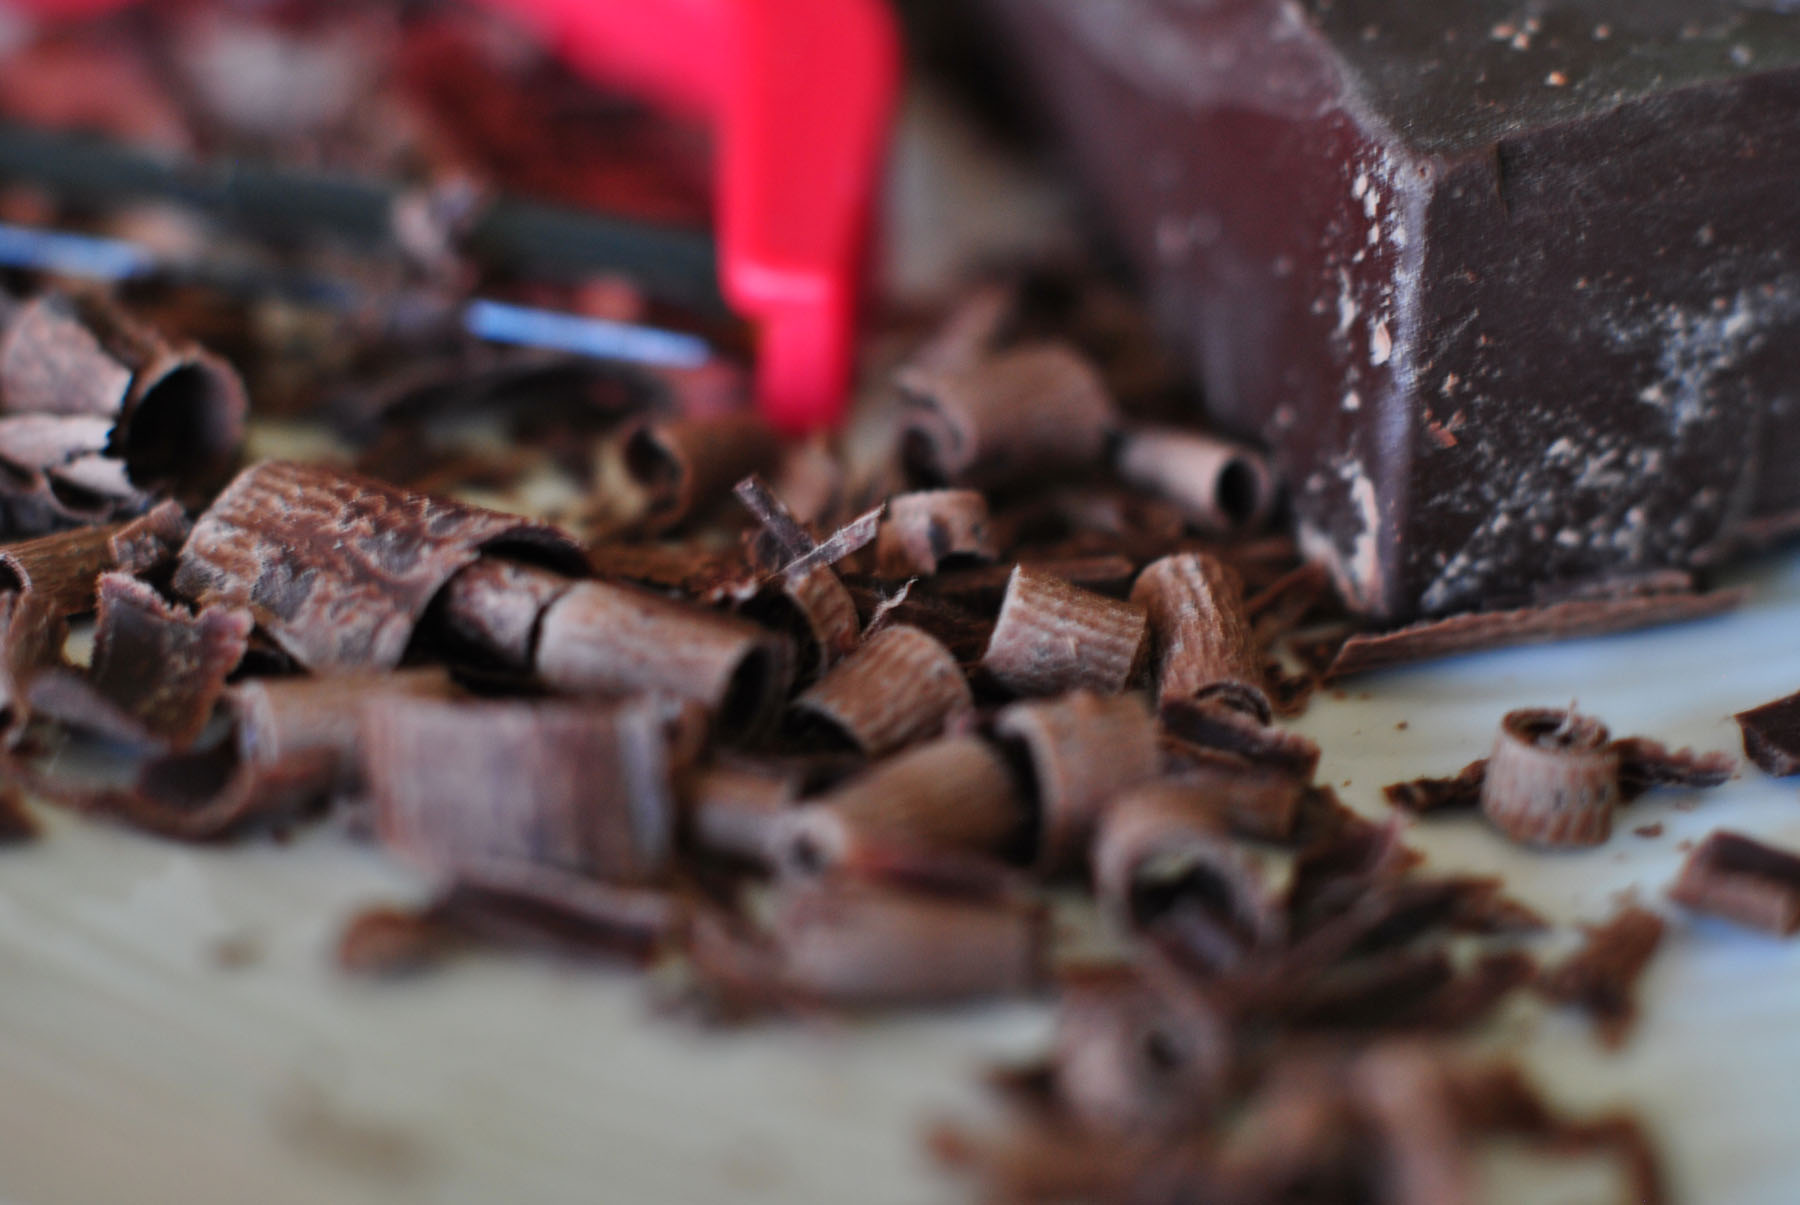
For the chocolate curls, just warm up the chocolate for 15 seconds and shave it with your vegetable peeler. Slightly warm chocolate bar is easier to peel without breaking the curls.

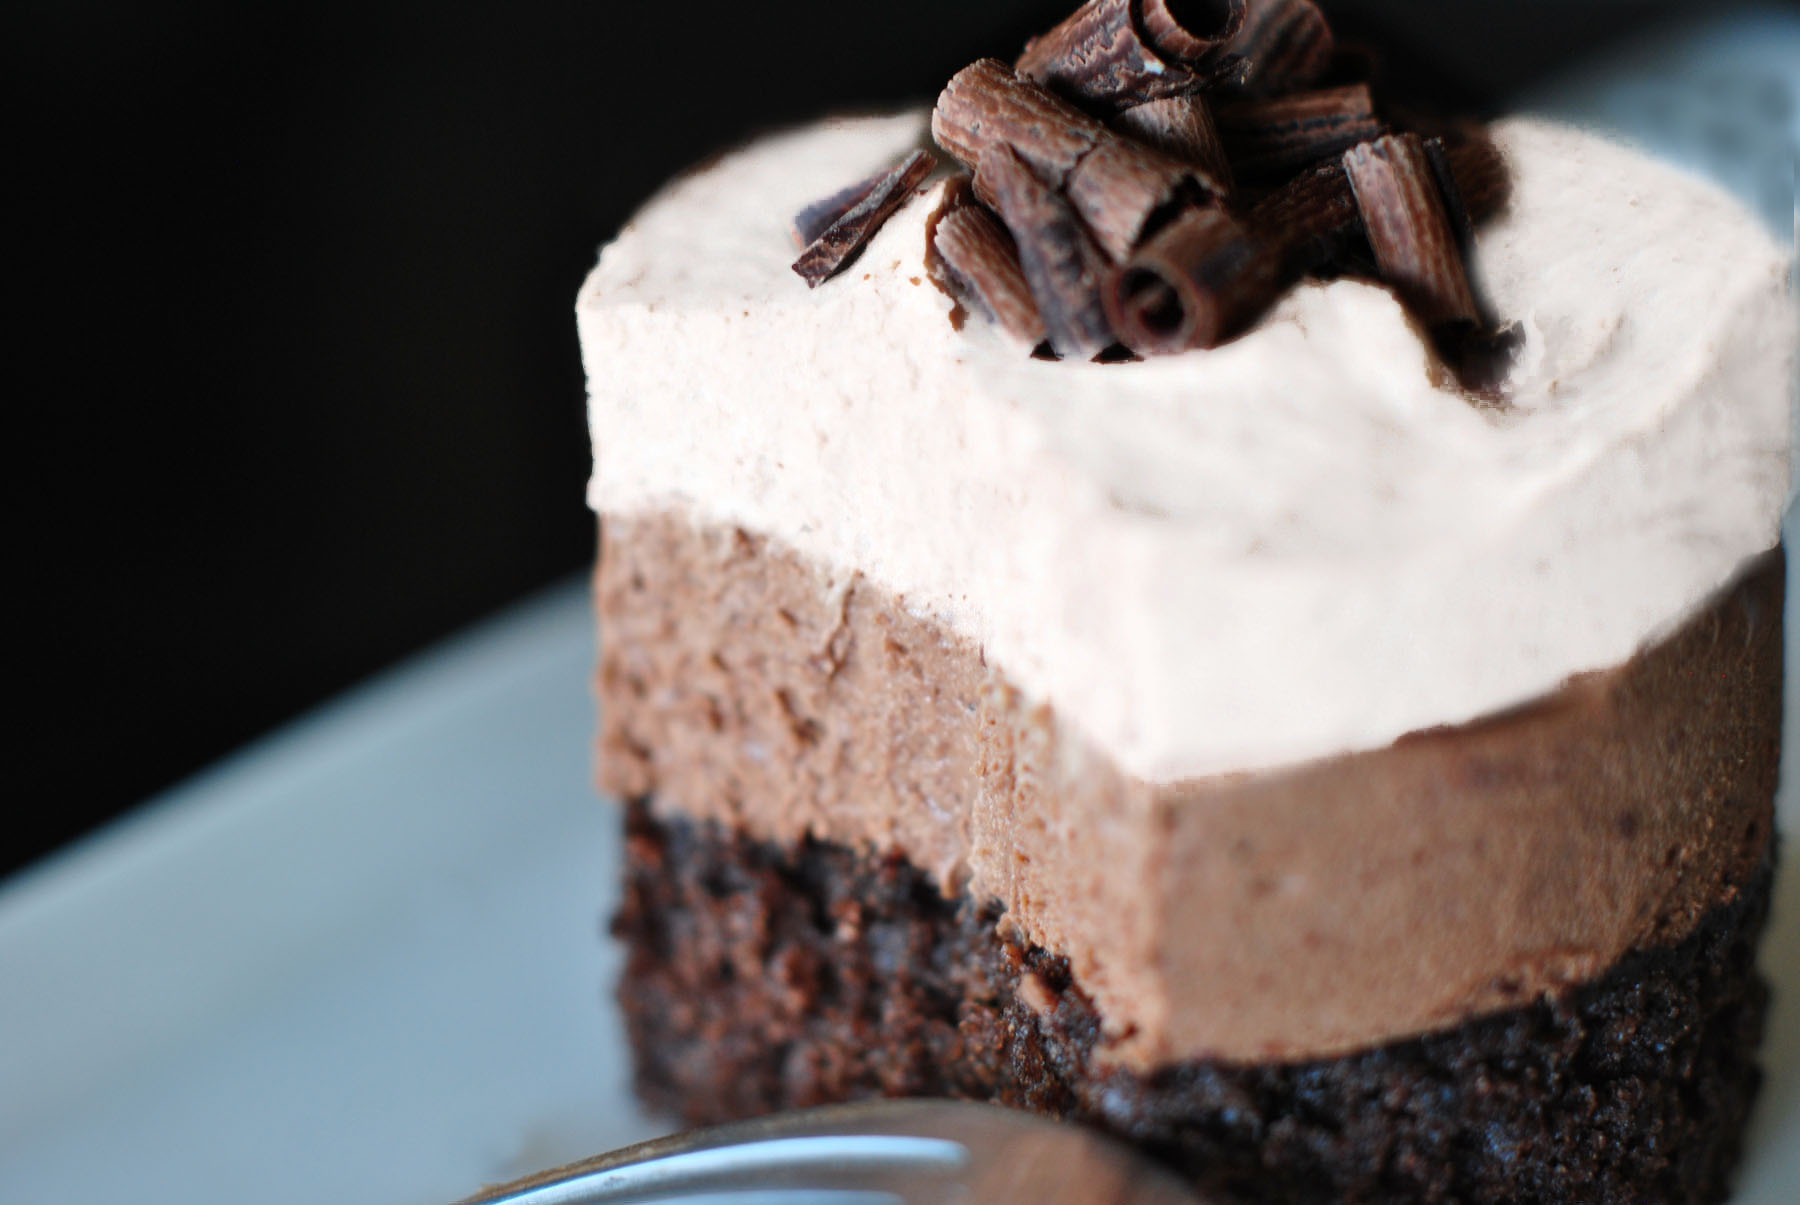

Looks so luscious! I love that method- you could do all kinds of flavor combinations. Now you’ve got me thinking…
Your triple chocolate mousse cake looks divine!!! I love those different layers of flavour, and colour too. Your step by step instructions are great too. I was wondering how you assembled this so perfectly. Thank you for sharing!
my tail is definitely wagging lol!
these are perfectly photographed and sooo yummy looking
These look out-of-this-world scrumptious! Bravo!
I just found you through Foodgawker. I love the name of your blog! So cute.
Your pictures are amazing! I can’t get over how perfect the little cakes are. Really impressive. 🙂
Beautiful!! i m droooling!!! 🙂
Absolutely gorgeous! Nice and pedagogic presentation:)
whoa, that sure looks and sounds yummy! i love chocolate mousse – and your’s seems to be a great simple version without eggs and fuss!
I love that you made individual cakes! I’ve made the full size version from Cook’s Illustrated that’s very similar to yours, but I will have to try mini cakes next time.
Any idea how many servings this makes? They look impressive and I’m bringing dessert to the home of a chef this weekend…
Hi Kayla, It depends on how big your cutter is and how tall you want to layer it but I made 6. A lot more cake leftover though-I just cut them into small square and keep them in the freezer for Ice cream sundae. 🙂 Have a great time this weekend. Share some pictures with me! xoxo
I love the individual chocolate mousse cakes the look absolutely yummy!
The fact it is triple chocolate even better! 🙂
I´ve been wanting to make a triple-chocolate mousse for a long time, and yours look just how I want them! 🙂 beautiful and totally mouthwatering…
Thanks Moya and Malin~~~ 🙂
Hey there…
you’ve done a beautiful job with the presentation i must say! I have been browsing through recipes for this dessert and yours seems to be the most appealing (no eggs). I REALLLY want to try this asap. However, I want to bake is in a 9 inch spring form cake pan. how do you reckon the ingredient ratios to change?
<3
Thanks for the great recipe! I tried it yesterday for my father’s birthday. I made about two dozen 2″ round cakes and topped it with raspberry confiture made with raspberries from our garden. Beautiful presentation, and like you say, it’s not as difficult as it looks!
I know, right? not so difficult. Yours sounds better than mine! 😀 YUMMMM~~~~xoxo
Hi Christina,
My husband planned to have friends over the weekend and I had come across your blog while I was browsing food gawker for any recipe similar to a cake I had tried before while I was living in Canada. Anyhow, I bookmarked your blog and promised myself I would try this recipe once before serving it on the weekend.
There was a sudden change in plans and now our guests were going to come for dinner earlier in the week. Which meant I had absolutely no time to try the recipe once before I served it.
I already had most of the ingredients in my pantry. The night before the dinner, I baked the cake, and the next day I completed the recipe with the addition of the mousse layers on top.
I had a little issue with the mousse because I couldn’t find “heavy” cream here in the Middle East. Then with a little research, I found out that they called it “Whipping cream” here.
Later that night, I served the guests and ran off to the kitchen with the excuse that I would get their tea ready. I was scared because usually anything that I try for the first time, isn’t always successful. However, I went back to the dining table and was greeted with lots and lots of appreciation for the presentation and the taste of the cakes 😀
I couldn’t be happier! This recipe is going in to my books so that I never lose it. I can’t thank you enough for sharing it! Thank you! Thank you! Thank you!
There were a couple of things I was wondering if you knew anything about. My cake didn’t come out exactly like yours, but I’m sure it had nothing to do with your recipe. It wasn’t as moist and when I served it, the sides had become a little hard while the center was soft. I actually forgot to put in the espresso powder, did that have anything to do with it? Or was it because at new place we have a gas oven, instead of a electric oven and I’m just not on good terms with it yet?
Anyways, thanks again. I’ll be visiting more often now 🙂
Hi Taha, Glad you and your guest enjoyed!! It’s pretty easier than it looks huh? 🙂 Happy cooking!!
ps. Cake batter should be very thin and watery…almost makes you feel like you did something wrong…but should be that thin and it’s baked in a sheet pan pretty quickly in the oven. 🙂 Ummmmm you just made me hungry for chocolate cake!! xoxo -Christina
WOW!! I just made this for our 2nd wedding anniversary dessert and OMG it was stunning! Perfectly balanced in sweetness, ( I omitted the coffee because I’m not a fan) and it is seriously awesome! Thanks
When a recipe calls for ground nuts, be careful not to overprocess them or the nuts’ oils will be released, and you’ll wind up with nut butter.